We help the world since 2012

Installing and Maintaining 70V/100V Audio Transformers: A Complete Guide
- Why 70V/100V Audio Transformers Are Essential for Long-Distance Audio Systems
- How to Install a 70V/100V Audio Transformer
- Common Wiring Mistakes and How to Fix Them
- Ensuring Safety and Longevity in Your 70V/100V Audio System
- Conclusion: Mastering 70V/100V Transformer Installation for Superior Audio Quality
In modern audio systems, 70V/100V audio transformers are indispensable, especially when transmitting audio signals over long distances without compromising quality. Whether you’re setting up a mall broadcast system, a school PA system, or outdoor speakers, these transformers effectively reduce signal loss and ensure crystal-clear audio. This guide dives deep into the role of 70V/100V transformers, provides step-by-step installation instructions, highlights common issues and solutions, and shares essential safety and maintenance tips to keep your system running smoothly.
Why 70V/100V Audio Transformers Are Essential for Long-Distance Audio Systems
Traditional low-impedance audio systems struggle with power loss and signal degradation when transmitting audio over long distances, making them unsuitable for large venues. 70V/100V transformers solve this problem by converting audio signals into high-voltage, low-current formats, which significantly reduce losses and maintain audio quality across extensive areas. This makes them ideal for applications like shopping mall broadcasts, school PA systems, and outdoor event speakers, where consistent and clear audio coverage is critical.
How to Install a 70V/100V Audio Transformer
Step 1: Identify Input and Output Terminals
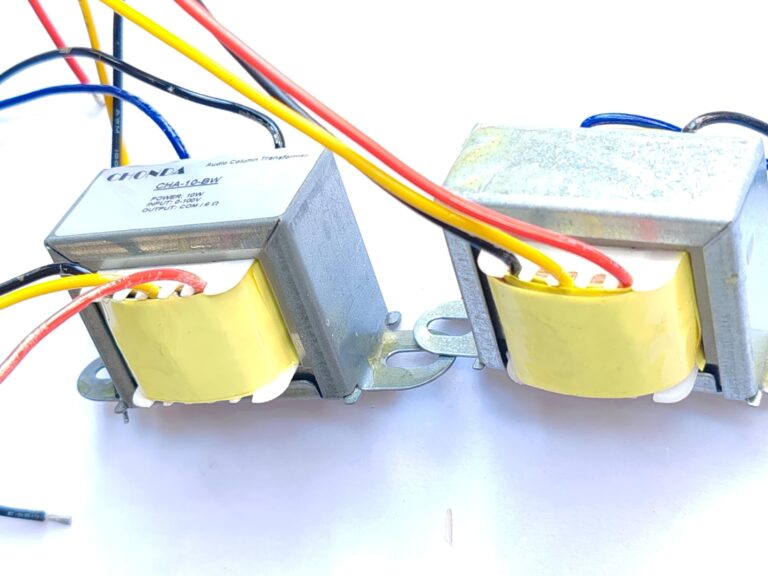
Before starting the installation, locate the input (Primary/Input) and output (Secondary/Output) terminals on your transformer. The input terminal connects to the amplifier, while the output terminal links to the speakers. Most transformers clearly label these terminals, with options for 70V or 100V output depending on your system’s requirements.
Step 2: Choose the Right Cable for Your System
Selecting the appropriate cable is crucial for minimizing power loss and ensuring optimal performance. For low-power systems (under 100W), 18AWG cables are usually sufficient, while high-power systems (over 100W) may require 16AWG or thicker cables to handle the load effectively.
Step 3: Connect the Transformer Correctly
- Connect the amplifier’s output to the transformer’s input terminal using high-quality audio cables.
- Link the transformer’s output terminal to the speakers, ensuring you select the correct voltage (70V or 100V) based on your system design.
- Pay attention to polarity—connect the positive and negative terminals correctly to avoid phase issues.
Wiring Diagram Example
To help you better understand how to wire a 70V/100V audio system, here’s a practical video demonstration showing the correct way to connect 70 volt / 100 volt speakers. This video complements the wiring diagram provided above and offers step-by-step guidance.
Video: Connecting 70 Volt / 100 Volt Speakers (Constant Voltage)
Common Wiring Mistakes and How to Fix Them
Ground Loop Noise
Improper grounding can introduce hum or buzz into your audio system, which can be frustrating and disruptive. To fix this, ensure all devices share a common ground point, or use an isolation transformer to eliminate ground loop interference.
Incorrect Power Matching
Using a transformer with a power rating lower than your speakers’ requirements can result in low volume or distortion. Always choose a transformer with a power rating that matches or slightly exceeds the total wattage of your connected speakers.
Parallel vs. Series Connections
- Parallel Connections: Ideal for connecting multiple speakers to a single transformer output. Ensure the total power of all speakers does not exceed the transformer’s capacity.
- Series Connections: Rarely used in 70V/100V systems due to potential impedance mismatches and signal loss.
Ensuring Safety and Longevity in Your 70V/100V Audio System
Preventing Amplifier Overload
To avoid overloading your amplifier, ensure the total power of all connected speakers does not exceed the amplifier’s rated output. Using an amplifier with built-in overload protection can also safeguard your system.
Regular Maintenance Tips
- Check Connections: Periodically inspect all wiring to ensure connections are secure and free from corrosion.
- Monitor Temperature: If your transformer feels excessively hot, it may be overloaded or poorly ventilated. Address the issue promptly to prevent damage.
- Test System Performance: Use a multimeter to verify voltage levels and ensure your system operates within safe parameters.
Long-Term Maintenance Plan
- Clean dust and debris from transformers and speakers regularly to maintain optimal performance.
- Replace worn or damaged cables to prevent signal loss or short circuits.
- Schedule annual system checks to identify and resolve potential issues before they escalate.
Conclusion: Mastering 70V/100V Transformer Installation for Superior Audio Quality
Installing a 70V/100V audio transformer may seem daunting at first, but with the right knowledge and tools, you can create a robust and reliable audio system that delivers exceptional sound quality across large areas. By following this guide, you’ll avoid common pitfalls, ensure safe operation, and extend the lifespan of your equipment. Whether you’re setting up a shopping mall background music system, a school PA system, or an outdoor speaker network, these tips will help you achieve professional results.